 mongodb 第13章 PHP扩展
1、windows php7 安装 mongodb 扩展
①、打开phpinfo 查看 nts(非线程) 还是 ts (线程),然后查看操作位数

②、下载对应的 php_mongodb.dll 文件
③、把文件解压出来 php_mongodb.dll 文件复制到php安装目录下的 ext 目录下(例子: phpStudy\php\php-7.0.12-nts\ext)
④、打开php.ini 配置文件增加行 : extension=php_mongodb.dll
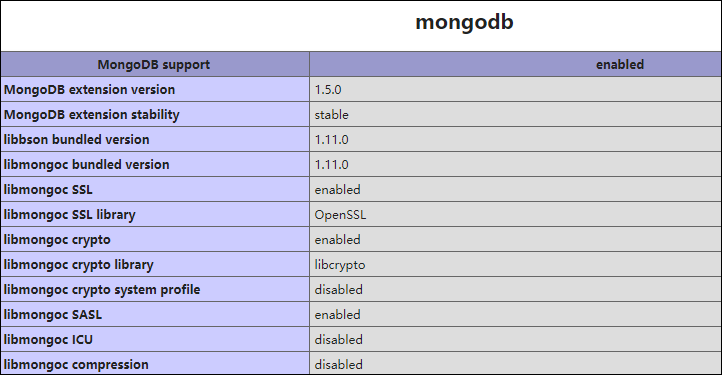
⑤、重启,再打开phpinfo() 查看是否有mongodb扩展,出现下图则安装成功
2、Linux 上安装 MongoDB PHP 扩展
cd /usr/local/src
wget http://pecl.php.net/get/mongodb-1.5.3.tgz
tar xzf mongodb-1.5.3.tgz
cd /mongodb-1.5.3
phpize
./configure --with-php-config=/usr/local/php/bin/php-config
make && make install
修改php.ini
extension = "mongodb.so"
重启 php-fpm
pkill php-fpm
usr/local/php/php-fpm
查看 phpinfo() 是否有 mongodb 扩展
3、mongodb 的使用
3.1、插入数据
将 name 为"菜鸟教程" 的数据插入到 test 数据库的 runoob 集合中。
$bulk = new MongoDB\Driver\BulkWrite;
$document = ["_id" => new MongoDB\BSON\ObjectID, "name" => "菜鸟教程"];

$_id= $bulk->insert($document);

var_dump($_id);

$manager = new MongoDB\Driver\Manager("mongodb://localhost:27017");
$writeConcern = new MongoDB\Driver\WriteConcern(MongoDB\Driver\WriteConcern::MAJORITY, 1000);
$result = $manager->executeBulkWrite("test.runoob", $bulk, $writeConcern);

3.2、读取数据
这里我们将三个网址数据插入到 test 数据库的 sites 集合,并读取迭代出来:
$manager = new MongoDB\Driver\Manager("mongodb://localhost:27017");

// 插入数据
$bulk = new MongoDB\Driver\BulkWrite;
$bulk->insert(["x" => 1, "name"=>"菜鸟教程", "url" => "http://www.runoob.com"]);
$bulk->insert(["x" => 2, "name"=>"Google", "url" => "http://www.google.com"]);
$bulk->insert(["x" => 3, "name"=>"taobao", "url" => "http://www.taobao.com"]);
$manager->executeBulkWrite("test.sites", $bulk);

$filter = ["x" => ["$gt" => 1]];
$options = [
    "projection" => ["_id" => 0],
    "sort" => ["x" => -1],
];

// 查询数据
$query = new MongoDB\Driver\Query($filter, $options);
$cursor = $manager->executeQuery("test.sites", $query);

foreach ($cursor as $document) {
    print_r($document);
}
3.3、更新数据
接下来我们将更新 test 数据库 sites 集合中 x 为 2 的数据:
$bulk = new MongoDB\Driver\BulkWrite;
$bulk->update(
    ["x" => 2],
    ["$set" => ["name" => "菜鸟工具", "url" => "tool.runoob.com"]],
    ["multi" => false, "upsert" => false]
);

$manager = new MongoDB\Driver\Manager("mongodb://localhost:27017");
$writeConcern = new MongoDB\Driver\WriteConcern(MongoDB\Driver\WriteConcern::MAJORITY, 1000);
$result = $manager->executeBulkWrite("test.sites", $bulk, $writeConcern);
3.4、删除数据
以下实例删除了 x 为 1 和 x 为 2的数据,注意 limit 参数的区别:
$bulk = new MongoDB\Driver\BulkWrite;
$bulk->delete(["x" => 1], ["limit" => 1]);   // limit 为 1 时,删除第一条匹配数据
$bulk->delete(["x" => 2], ["limit" => 0]);   // limit 为 0 时,删除所有匹配数据

$manager = new MongoDB\Driver\Manager("mongodb://localhost:27017");
$writeConcern = new MongoDB\Driver\WriteConcern(MongoDB\Driver\WriteConcern::MAJORITY, 1000);
$result = $manager->executeBulkWrite("test.sites", $bulk, $writeConcern);


